1. Once the user click on save button, it would save the changes were made in database.
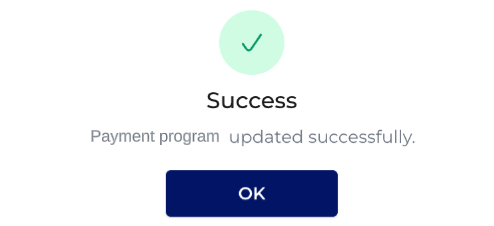
2. And success message would be showed once the record saved successfully.
2. Success
Payment Program updated successfully.
OK -> The this popup will be closed and the user will be redirected to the grid of the existing QR Payment program records.
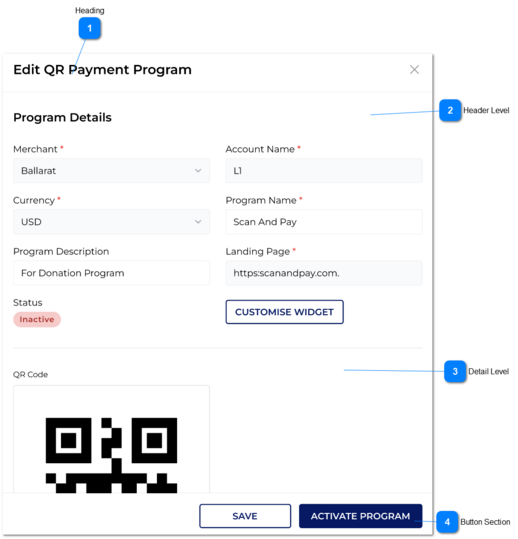
Button
Activate Program /
Inactivate Program
3. Once the user clicks on this, changing payment status would be updated in database.
1. If the payment status is INACTIVE, then 'Activate Payment' button would be displayed in Edit QR Payment Program screen.
1A. Once the user clicks on Activate Payment button, it check below validations and if those are passed then the payment would be activated with successful message.
2. If the payment status is ACTIVE, then 'Inactivate Payment' button would be displayed in Edit QR Payment Program screen.
2A. Once the user clicks on Inactivate Payment button, it would Activate Payment.
3. If the INACTIVATED QR payment program's merchant or merchant account is INACTIVATED before the user tries to ACTIVATE the QR Payment program, then system will not allow to ACTIVATE QR payments. It will show a warning message.
1A. Program activated successfully.
OK -> The this popup will be closed and the user will be redirected to the grid of the existing QR Payment program records.
2A. Program inactivated successfully.
OK -> The this popup will be closed and the user will be redirected to the grid of the existing QR Payment program records.
3. This program cannot be activated due to the merchant account is in Inactive status.
OK -> Warning message popup will close and then Edit QR Program slider would be displayed in Inactive status